Quick answer: to install EVE-NG on VMware Workstation, download the official EVE-NG Community ISO, create a new Linux VM in VMware Workstation 16 or later, enable nested virtualization, assign enough CPU/RAM, boot from the ISO, complete the first-boot setup, then log in to the web UI at http://<eve-ip>/.
That’s the short path.
The part that catches most people is not the ISO. It’s the VMware settings. EVE-NG runs network devices inside the EVE-NG virtual machine, so your laptop must pass hardware virtualization through to the guest. Miss that checkbox and your routers won’t start.
This guide walks through the full How to Install EVE-NG on VMware Workstation process for Windows users. It also covers default login details, NAT vs bridged networking, the fixpermissions command, and the Windows 11 Hyper-V issue that breaks nested virtualization.
[IMAGE: VMware Workstation window showing an EVE-NG VM booting from ISO]
Alt text: “How to Install EVE-NG on VMware Workstation with nested virtualization enabled”
Before You Start: What You Need
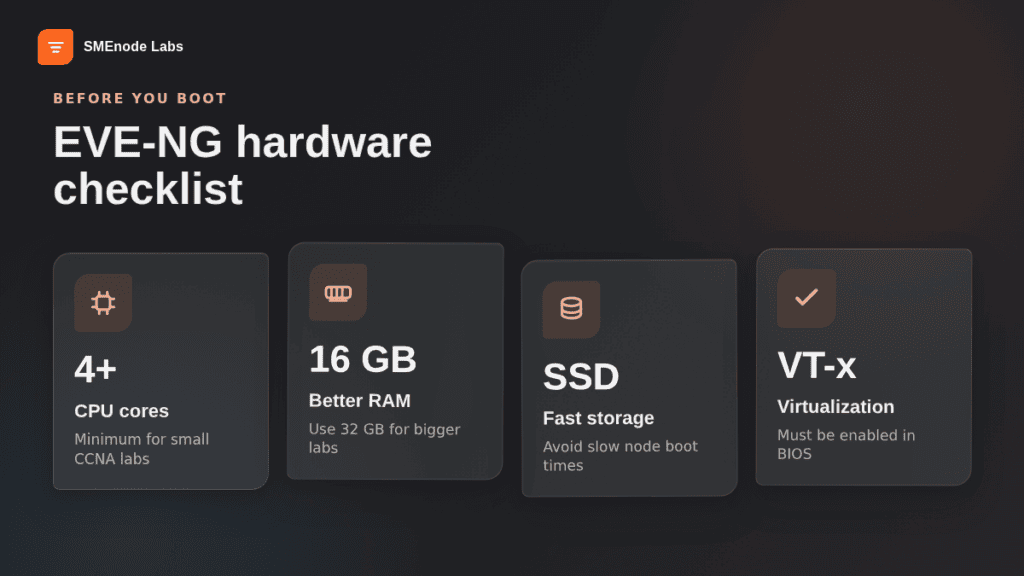
For a small CCNA lab, you can run EVE-NG on a decent laptop. For CCNP or CCIE labs, be more honest with the hardware. EVE-NG can boot on weak specs, but the nodes will punish you later.
Use this as a practical baseline:
| Lab size | CPU | RAM | Storage | Best for |
|---|---|---|---|---|
| Minimum | 4 logical cores | 8 GB | 80 GB SSD | Tiny CCNA labs |
| Better | 8 logical cores | 16 GB | 150 GB SSD | CCNA and light CCNP |
| Recommended | 8 to 16 logical cores | 32 GB | 250 GB SSD | CCNP, security, multi-vendor labs |
| Heavy | 16+ logical cores | 64 GB+ | NVMe SSD | CCIE-style topologies |
The official EVE-NG hardware page says Intel VT-x/EPT or nested AMD CPU EPT must be enabled, and it lists VMware Workstation 16.0 or later as supported. You can verify that on the EVE-NG supported hardware and software page.
You also need:
- VMware Workstation Pro 17.5.2 or newer
- EVE-NG Community ISO
- BIOS virtualization enabled
- Enough free disk space for vendor images and labs
- The EVE-NG Windows Client Side pack if you want native PuTTY, VNC, and Wireshark handlers
Good news: VMware Workstation Pro is free for personal, commercial, and educational use from Workstation Pro 17.5.2 and newer, according to Broadcom’s VMware Desktop Hypervisor KB.
Download EVE-NG and VMware Workstation
Start with official downloads. Seriously.
Don’t grab EVE-NG from random mirrors unless you have no other choice. Lab platforms run privileged services, host network interfaces, and store images. A modified ISO is a bad day waiting to happen.
- Go to the official EVE-NG download page.
- Download Free EVE Community Edition Version 6.2.0-4.
- Save the ISO somewhere easy, like
Downloads\EVE-NG\. - Check the SHA256 hash listed on the EVE-NG download page.
- Download VMware Workstation Pro from Broadcom or the VMware link on the EVE-NG download page.
For Windows PowerShell, check the ISO hash like this:
Get-FileHash -Algorithm SHA256 .\EVE-Community-VM-6.2.0-4.isoCompare the result with the SHA256 shown on EVE-NG’s download page. If it doesn’t match, download the file again.
If you want the deeper download breakdown, use our EVE-NG Download Guide: Community + Pro ISO Explained before you build the VM. It covers Community vs Pro, checksums, mirrors, and ISO choices. If the lab isn’t built yet, start at the EVE-NG installation guide and come back.
Step 1: Create the EVE-NG Virtual Machine
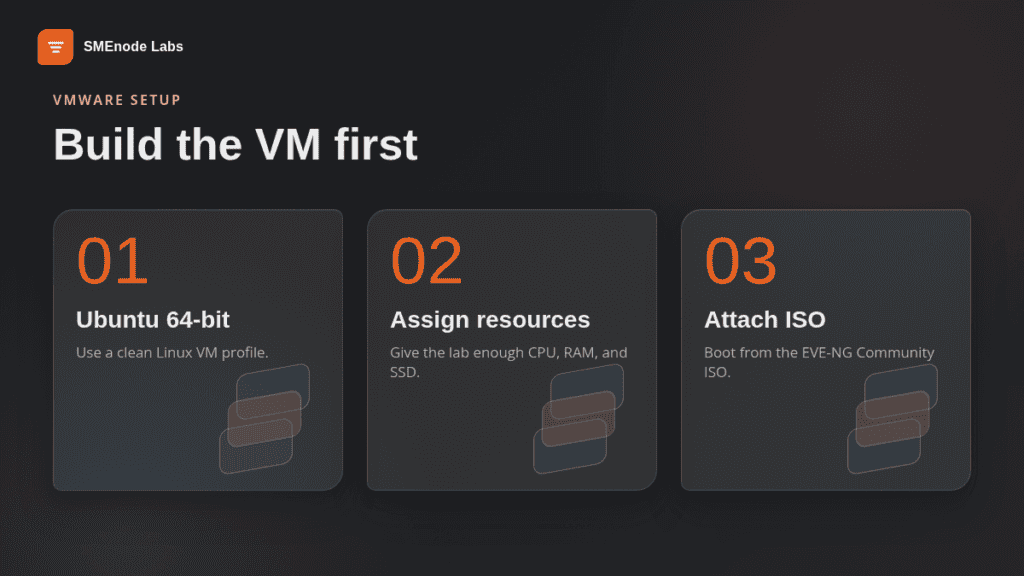
Open VMware Workstation and create a new VM.
Use these settings:
| VMware setting | Value |
|---|---|
| Configuration type | Custom |
| Hardware compatibility | Workstation 16.x or later |
| Guest OS | Linux |
| Version | Ubuntu 64-bit |
| VM name | EVE-NG-Community |
| Processors | 2 processors, 2 cores each minimum |
| Memory | 8 GB minimum, 16 GB better |
| Network | Bridged or NAT |
| Disk controller | SCSI |
| Disk type | NVMe or SCSI |
| Disk size | 80 GB minimum, 150 GB better |
| Disk storage | Single file, if possible |
Pick Installer disc image file and select the EVE-NG ISO you downloaded.
Here’s the thing. VMware’s defaults are too small for real labs. If you accept every default, EVE-NG might boot, but your first IOSv or FortiGate node will feel painfully slow.
For CCNA prep, 8 GB RAM is enough for simple labs. For CCNP or multi-vendor work, start at 16 GB. If you’re studying for expert-level Cisco labs, your real problem won’t be EVE-NG. It will be RAM.
Step 2: Enable Nested Virtualization
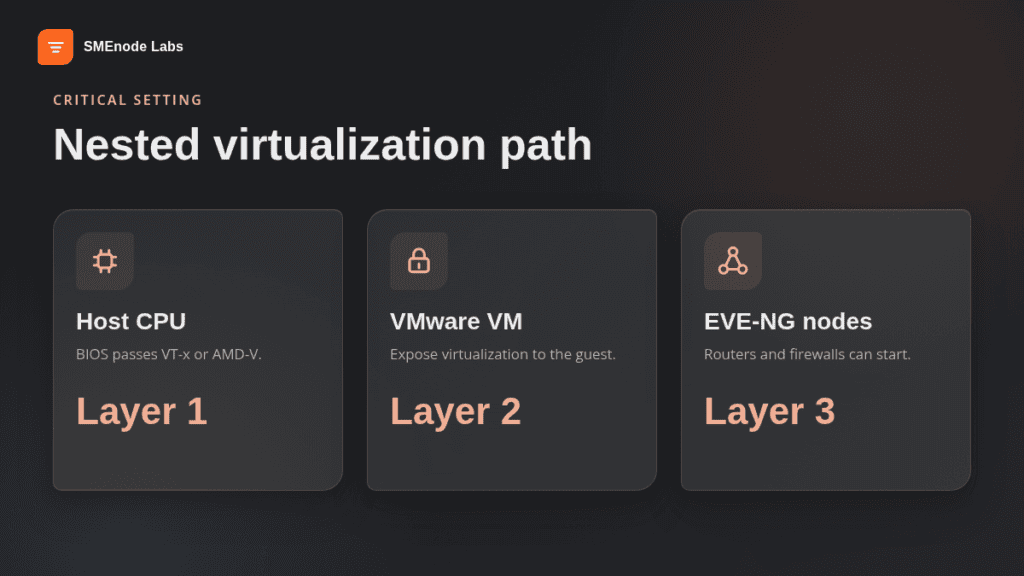
This is the most important VMware setting.
Before you power on the VM:
- Right-click the EVE-NG VM.
- Click Settings.
- Open Processors.
- Tick Virtualize Intel VT-x/EPT or AMD-V/RVI.
- Tick Virtualize CPU performance counters if your Workstation version shows it.
- Save the settings.
Without this, EVE-NG may install, but nested nodes inside EVE-NG will fail. You’ll see errors like KVM acceleration cannot be used, nodes stuck in red status, or VMware warnings about virtualized VT-x.
If the checkbox is greyed out, check three places:
- BIOS or UEFI virtualization is enabled.
- Windows Hyper-V, Windows Hypervisor Platform, Virtual Machine Platform, and Memory Integrity are not blocking VMware.
- VMware Workstation is updated to a current release.
Windows 11 can be fussy here. If VMware says it doesn’t support nested virtualization on this host, the issue is often Windows using its own hypervisor layer in the background.
Step 3: Choose NAT or Bridged Networking
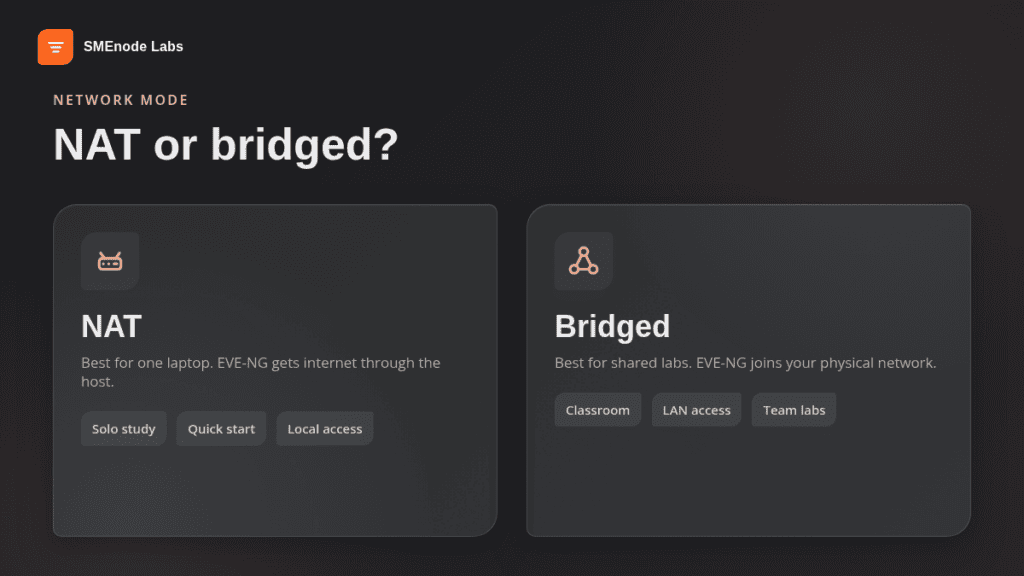
Most tutorials skip this decision. Don’t.
Your EVE-NG management IP depends on the VMware network mode.
| Network mode | What it does | Use it when |
|---|---|---|
| NAT | EVE-NG shares your host’s outbound internet connection | You only need local access from your laptop |
| Bridged | EVE-NG gets an IP from your physical network | You want other devices to reach EVE-NG |
| Host-only | EVE-NG talks only to the host | You want an isolated lab |
For most learners, NAT is the easiest start. It gives EVE-NG internet access for updates and keeps the lab local.
For a classroom, office lab, or multi-device setup, use bridged networking. That gives EVE-NG an IP address on your LAN, so another laptop or desktop can open the web interface.
Pretty simple.
If you use bridged mode on Wi-Fi and the VM doesn’t get an IP, switch VMware’s bridge adapter from automatic to your real Wi-Fi adapter. Some drivers don’t play nicely with automatic bridging.
Step 4: Boot the ISO and Install EVE-NG
Power on the VM. EVE-NG will boot from the ISO and start the installer.
Follow the prompts:
- Choose the default install option.
- Select your language and keyboard layout.
- Confirm the disk layout.
- Let the installer write EVE-NG to the virtual disk.
- Reboot when it finishes.
- Disconnect the ISO if VMware tries to boot the installer again.
The first boot can take a few minutes. Don’t panic if the console sits quietly for a bit.
Once the login prompt appears, EVE-NG will use DHCP by default. The official EVE-NG first boot guide says to log in as root with password eve and complete the setup.
Step 5: Complete First-Boot Configuration
Log in at the console:
Username: root
Password: eve
EVE-NG will ask you to set the system values. Use these settings unless you have a reason to change them:
| Prompt | Recommended value |
|---|---|
| Root password | Set a strong password |
| Hostname | eve-ng |
| Domain name | local or your lab domain |
| Management IP | DHCP for first boot, static later |
| NTP server | pool.ntp.org |
| Proxy | Direct connection, unless your network needs a proxy |
Use a static IP if this VM will become your regular lab server. Bookmarks, SSH sessions, and workbook topology notes are easier when the IP doesn’t move.
After the setup finishes, EVE-NG reboots. When it comes back, the console should show the management IP address.
Step 6: Log In to the EVE-NG Web UI
Open a browser on your Windows host and go to:
http://<eve-ng-ip>/The default web login is:
Username: admin
Password: eve
Change the password right away.
Once you’re in, create a test folder and a blank lab. You won’t have vendor images yet, so don’t expect Cisco routers to appear out of nowhere. EVE-NG is the platform. Device images are separate, licensed software.
If you’re studying CCNA, our CCNA Lab Workbook with EVE-NG ISO and Packet Tracer scenarios gives you a structured path after the install. You get 75 hands-on labs, tested configs, and topologies aligned with the Cisco 200-301 exam.
If you’re past CCNA and building bigger EVE-NG topologies, the CCIE Enterprise Infrastructure Lab Workbook is the better fit. It covers OSPF, BGP, DMVPN, SD-WAN, SD-Access, and automation labs built for serious practice. The CCNA Lab Workbook ships the EVE-NG ISO plus graded lab scenarios, so you practise on a topology that’s already built.
Step 7: Update EVE-NG After First Boot
Run updates after the first clean boot.
SSH into the VM or use the VMware console:
apt-get update
apt-get upgrade
reboot
The official first-boot guide recommends updating the system after configuration. Do that before you upload images or build your first real lab.
Small warning: take a VMware snapshot before big changes. A clean snapshot after first boot gives you an easy rollback point if an image upload, package update, or lab experiment goes sideways.
Step 8: Install the EVE-NG Windows Client Pack
The web UI works in a browser, but native console and packet capture features need local handlers on Windows.
Download the Windows Client Side 3.0 pack from the official EVE-NG download page. The current pack listed there includes Wireshark, UltraVNC, PuTTY, plink, and browser protocol handlers for telnet, VNC, RDP, and packet capture.
Install it on the same Windows machine where you open the EVE-NG web UI.
After installation:
- Open an EVE-NG lab.
- Start a node.
- Click the node console.
- Confirm that PuTTY or the browser console opens.
If clicking a node does nothing, your browser may be blocking the protocol prompt. Reset protocol permissions or try another browser.
Step 9: Add Images and Fix Permissions
EVE-NG does not include Cisco, Fortinet, Palo Alto, Juniper, or MikroTik images by default. You need valid images from your own vendor accounts, lab licences, or official downloads.
Most QEMU images go here:
/opt/unetlab/addons/qemu/After uploading images, run:
/opt/unetlab/wrappers/unl_wrapper -a fixpermissionsThat command fixes file ownership and permissions so EVE-NG can see and boot the images.
If you skip it, your node template may appear, but the node won’t start. Classic EVE-NG moment.
For network automation practice, pair this setup with the CCNA Automation Workbook. It gives you Python, REST API, Ansible, and IOS-XE automation labs you can connect to your emulator practice.
Common EVE-NG VMware Workstation Problems
Most EVE-NG VMware Workstation problems come from one of four areas: nested virtualization, Windows Hyper-V, networking, or image permissions.
VMware says nested virtualization is not supported
Enable virtualization in BIOS first. Then disable Windows features that force the Microsoft hypervisor layer, including Hyper-V, Windows Hypervisor Platform, Virtual Machine Platform, Windows Sandbox, and Memory Integrity.
Reboot after each change. A shutdown and cold boot is even better.
EVE-NG installs, but nodes won’t start
Check the VMware processor settings and make sure Virtualize Intel VT-x/EPT or AMD-V/RVI is enabled. Then SSH into EVE-NG and run:
egrep -c '(vmx|svm)' /proc/cpuinfoIf the output is 0, EVE-NG cannot see hardware virtualization.
The web UI is not reachable
Check the VM console for the current IP address. If you’re using NAT, make sure you’re browsing from the same host. If you’re using bridged mode, make sure your physical network gives the VM an IP.
Try:
ip a
ping 8.8.8.8
ping google.com
If IP works but DNS fails, check the DNS server from the first-boot setup.
I uploaded images, but they don’t show up
Run fixpermissions, then refresh the web UI. Also check the exact EVE-NG folder naming for that image type. A tiny naming mismatch can hide a device from the template list.
The lab is slow
Give the VM more RAM, move the virtual disk to SSD/NVMe, and shut down nodes you aren’t using. EVE-NG is happiest when the host has memory left over. If Windows starts swapping, your lab will crawl.
VMware Workstation vs ESXi: Should You Move Later?
VMware Workstation is perfect for learning, demos, and portable labs. It runs on your laptop and gives you fast snapshots.
ESXi is better when the lab becomes shared, always-on, or too large for a laptop. If you plan to run CCIE-scale topologies, a dedicated server with ESXi or bare metal EVE-NG will feel much better.
Use Workstation first. Move later.
If you’re still comparing tools, read our GNS3 vs EVE-NG comparison. It explains when GNS3 is enough and when EVE-NG makes more sense for CCNP, CCIE, and multi-vendor practice.
What Should You Do After Installing EVE-NG?
Don’t stop at “it boots”. A working EVE-NG server only matters if you turn it into repeatable practice.
Here’s a smart next sequence:
- Install the Windows Client Side pack.
- Add one legal router image.
- Build a two-router lab.
- Test console access.
- Test node-to-node connectivity.
- Create a VMware snapshot.
- Start a structured workbook path.
For Cisco beginners, start with the CCNA Lab Workbook. For advanced routing and design, move to the CCIE Enterprise Infrastructure Workbook. For firewall practice, the FortiGate NSE4 Workbook is a strong next step once your EVE-NG image workflow is working.
You can also use our How to Install GNS3 guide if you want a second emulator for lighter desktop labs.
Frequently Asked Questions
Can EVE-NG run on VMware Workstation?
Yes, EVE-NG can run on VMware Workstation 16.0 or later. The official EVE-NG supported platforms page lists VMware Workstation as supported, but your CPU must support nested virtualization and the VMware VM must pass VT-x/EPT or AMD-V/RVI through to EVE-NG.
Is EVE-NG free?
EVE-NG Community Edition is free. EVE-NG Professional is paid and adds features like stronger multi-user controls, lab sharing, and larger training-centre features. For solo CCNA or CCNP study, Community Edition is usually enough.
What is the default EVE-NG login?
The default EVE-NG console login is root with password eve during first boot. The default web UI login is admin with password eve. Change both passwords before adding images or building real labs.
How much RAM do I need for EVE-NG on VMware Workstation?
Use 8 GB RAM for tiny CCNA labs, 16 GB for better CCNA or light CCNP labs, and 32 GB or more for serious multi-vendor work. EVE-NG itself isn’t the main memory load. The router, switch, firewall, and server images inside the lab use most of the RAM.
Why won’t EVE-NG nodes start in VMware Workstation?
EVE-NG nodes usually fail to start when nested virtualization is not enabled, Hyper-V is blocking VMware, image permissions are wrong, or the uploaded image folder name is incorrect. Start by enabling VT-x/EPT or AMD-V/RVI in VMware settings, then run /opt/unetlab/wrappers/unl_wrapper -a fixpermissions. Get the QEMU folder name wrong and nothing shows up, so it’s worth reading how to add router and switch images first.
Should I use NAT or bridged networking for EVE-NG?
Use NAT if you’re studying alone on one laptop. Use bridged networking if other devices on your LAN need to reach the EVE-NG web UI. If bridged mode fails on Wi-Fi, select the exact physical adapter in VMware instead of automatic bridging.
Do I need Cisco images to use EVE-NG?
You need valid device images to run Cisco routers, switches, firewalls, and other vendor nodes in EVE-NG. EVE-NG gives you the emulator platform, not the licensed vendor software. Always use images you are allowed to use.
What is the EVE-NG fix permissions command?
The command is /opt/unetlab/wrappers/unl_wrapper -a fixpermissions. Run it after uploading images, templates, or lab files. It fixes Linux ownership and permission settings so EVE-NG can detect and run the files.
Bottom Line
Learning How to Install EVE-NG on VMware Workstation is mostly about getting the VM settings right. Download the official ISO, enable nested virtualization, pick the right network mode, complete first boot, update the system, and install the client pack.
After that, the real work starts.
EVE-NG is just the lab platform. Your progress comes from what you practise inside it. Start with small topologies, take snapshots, and use a structured workbook so every lab builds toward the exam or job skill you’re chasing.