Yes, this SD-Access lab guide is a free download. Drop your email below and the 24-slide PDF lands in your inbox. No payment.
It walks you through building a full Cisco SD-Access virtual lab for self-practice: Catalyst Center, ISE, and Catalyst 9000v switches running on EVE-NG and ESXi. You get the resource sizing, the topology, the connectivity map, and working config for the fusion router, NAT router, and border node. Built for CCNP Enterprise and CCIE candidates who want hands-on fabric practice without buying hardware. The exam is configuration-heavy, and the CCIE Enterprise Infrastructure Lab Workbook gives you 120 EVE-NG labs, including SD-Access with ISE, to practise the rest of the blueprint.
SD-Access is hard to practise. The gear is expensive, and most people never touch a real fabric before the exam. This guide fixes that with a virtual build you can run on one workstation. Not sure your PC can run it? Check the EVE-NG hardware requirements before you build.
It’s a slide deck, not a novel. Screens, tables, and config you can copy. Follow it top to bottom and you’ll have a working Catalyst Center fabric with an employee, contractor, and printer VN segmented by SGT.
What Is Cisco SD-Access?
Cisco SD-Access (sometimes shortened to SDA) is an intent-based campus networking solution. It automates policy, segmentation, and virtualization from the edge to the cloud, and it turns a traditional wired and wireless campus into one programmable fabric. That’s the short version straight from Cisco’s own SD-Access overview.
Two pieces do the heavy lifting. Cisco Catalyst Center, the platform Cisco used to call DNA Center, is the orchestration and assurance engine. It designs, provisions, and monitors the fabric. Cisco ISE sits next to it as the policy engine, handling authentication and authorization for every user and device that joins.
Underneath, the fabric splits into an underlay and an overlay. The underlay is the physical, routed network, built with a protocol like IS-IS or, as in this guide, eBGP. The overlay rides on top of it using VXLAN and LISP, which is what lets a device keep its policy and its segment no matter which switch it plugs into. If VLANs are still fuzzy, this VLAN explainer covers the basics this guide builds on.
This lab PDF gives you both halves. You configure the eBGP underlay yourself, and you let Catalyst Center provision the BGP EVPN VXLAN overlay on top.
Border, Control, and Edge: The Three Fabric Roles
Every SD-Access fabric site runs on three device roles, and Cisco’s own SD-Access design guide lays them out this way:
- Control plane node. It’s the only mandatory role. It keeps a live map of every endpoint in the fabric and answers “where is this device right now” queries from the rest of the network.
- Border node. This is the gateway in and out of the fabric. It carries SGTs and VRF/VN segmentation out to the rest of your network, your shared services, or the internet.
- Edge node. This is your access-layer switch, the one end devices actually plug into. It runs as a LISP tunnel endpoint and needs a Layer 3 routed access design, not a traditional Layer 2 access port.
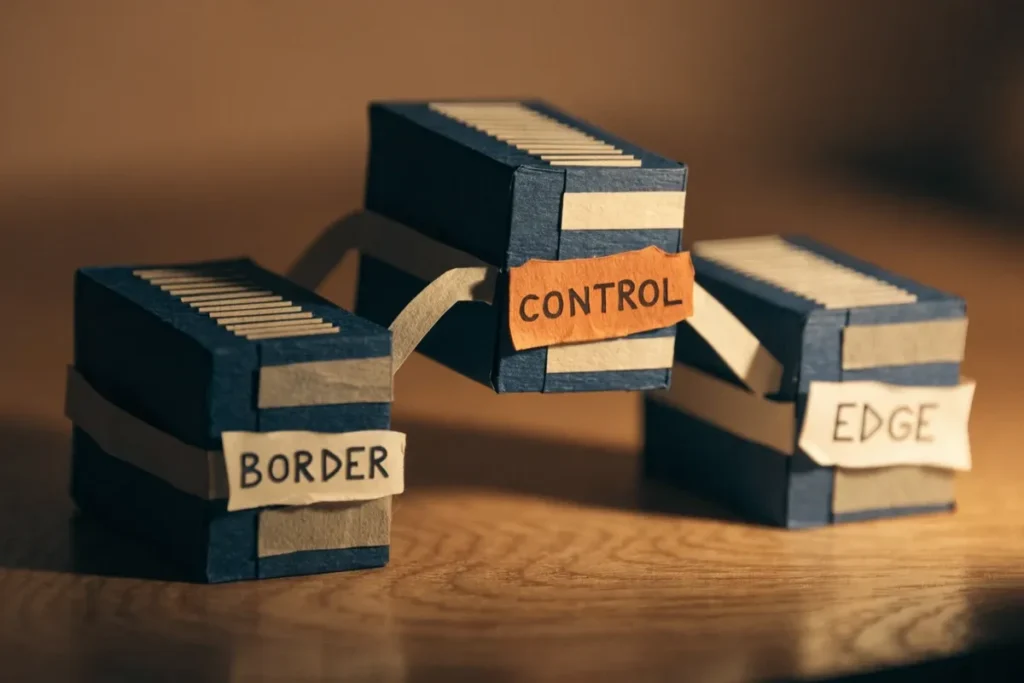
Small sites can collapse all three onto one box, called fabric-in-a-box. This guide’s lab keeps them separate on purpose, because seeing border, control, and edge as distinct devices, with their own config, is what makes the roles click. The PDF’s own lab names them BNCP (border plus control, combined on one node) and EN (edge node), which maps straight onto the theory above.
Underlay vs Overlay: What This Lab Actually Builds
This is the part most CCNP and CCIE candidates memorize without ever configuring. This guide has you do both halves by hand.
The underlay comes first. It’s plain IP routing between your fabric devices, built here with eBGP, ECMP, and route-maps, the same tools you already know from the rest of your routing blueprint. Nothing fancy: just get every fabric device reachable to every other one.
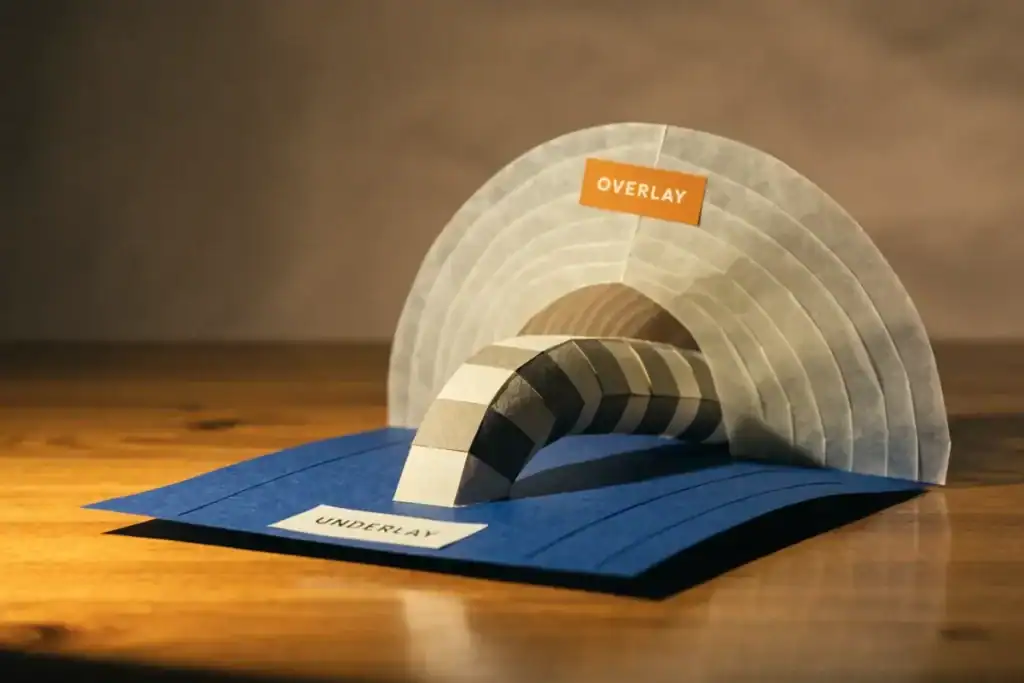
The overlay sits on top of that underlay and is where SD-Access stops looking like normal routing. BGP EVPN carries the control-plane information, VXLAN does the data-plane encapsulation, and the result is virtual networks (the guide’s example uses Employee, Contractor, and Printer) that stay segmented by SGT no matter which physical switch a device lands on. The guide’s feature list covers the exact overlay pieces you’ll configure: MAC-VRF Type 2, Type 3 IMET, Type 5 IP-Prefix, route target import and export, and the loopback used as the VTEP source.
What’s inside
- Catalyst 9000v positioning – where the C9Kv sits in the Catalyst 9000 family, and why it’s its own PID and SKU
- UADP vs Silicon One variants – memory needs (18GB vs 12GB), feature differences, and the board_id values to set the data plane (20612 vs 20613)
- What actually gets tested – interfaces, management, overlay control and data plane (BGP EVPN VXLAN), and underlay routing (eBGP, ECMP, route-maps)
- Lab resource sizing – see the table below
- Lab connectivity map – how ESXi and EVE-NG tie together through a physical switch, VLAN 11, OOB management, and NAT to the internet
- Install Catalyst Center on ESXi – OVA deployment, storage, and the Maglev config wizard step by step (network adapters, cluster IP, NTP, passwords)
- Prepare EVE-NG Community – install notes and where to get the C9000v image
- Example topology – fabric underlay loopbacks, L3 handoff, and a CAMPUS virtual network with Employee, Contractor, and Printer SGTs
- Working config – fusion switch, NAT router, border node (BNCP), plus license activation on the C9000v (network-advantage + dna-advantage)
Lab Resource Sizing
| Component | Environment | vCPU | RAM | Disk |
|---|---|---|---|---|
| Cisco Catalyst Center 2.3.7.9 | EVE-NG or ESXi (recommended) | 32 | 256 GB | 500 GB SSD (thin) |
| Cisco ISE 3.4+ | EVE-NG or ESXi (recommended) | 4 | 16 GB | 120 GB SSD (thin) |
| Cisco Catalyst 9000v 17.15 | EVE-NG | 4 per node | 18 GB per node | 20 GB SSD (thin) per node |
That’s a 32-vCPU, 256 GB box just for Catalyst Center. Most home labs run this on a dedicated ESXi server rather than nested inside EVE-NG, which is exactly what the guide recommends.
How the Lab Maps to ESXi and EVE-NG
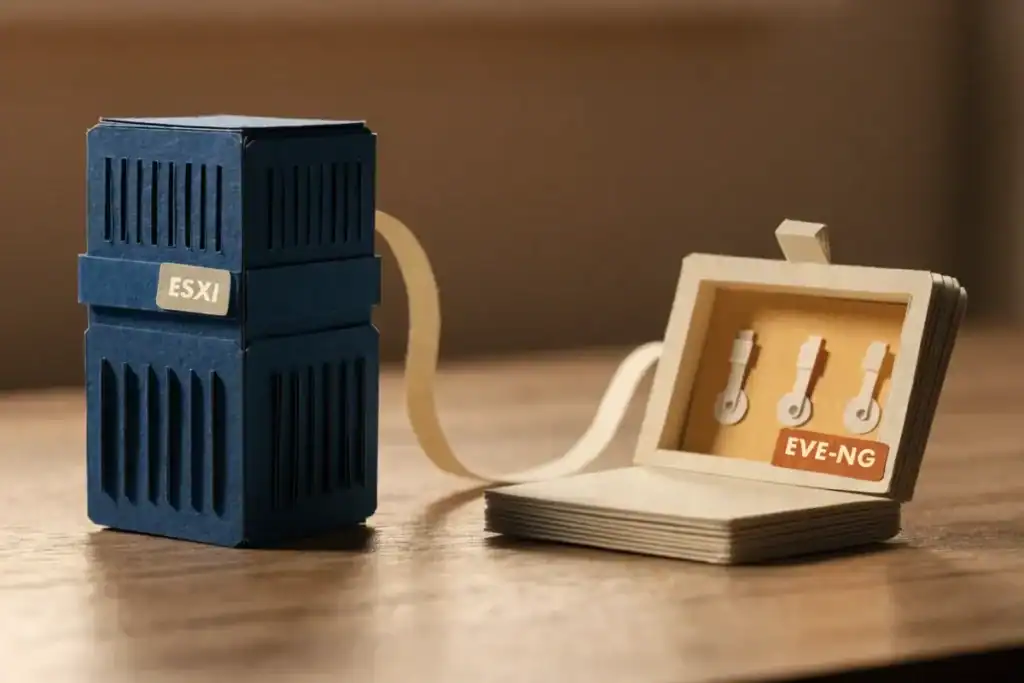
Catalyst Center and ISE are heavy VMs, so the guide puts them on ESXi, the platform built for sustained vCPU and RAM loads. The Catalyst 9000v switches are light by comparison (4 vCPU, 18 GB each) and go on EVE-NG, which is what most CCNP and CCIE candidates already use for day-to-day routing labs.
The two platforms talk to each other through a physical switch trunking VLAN 11 for the enterprise handoff and native VLAN 1 for out-of-band management, with a NAT router giving the whole lab internet access without exposing it. If you haven’t set up EVE-NG itself yet, installing it on VMware Workstation is the starting point, and adding the Catalyst 9000v image to EVE-NG covers the QEMU naming and licensing details the guide assumes you already know.
The C9000v image itself comes from Cisco Modeling Labs Personal, and EVE-NG Community installs straight from the official EVE-NG Community guide.
Who it’s for
- CCNP Enterprise (ENCOR / ENARSI) students who need real SD-Access reps
- CCIE Enterprise Infrastructure candidates building fabric muscle memory
- Network engineers moving from traditional campus to SD-Access
- Lab builders who want a proven EVE-NG plus ESXi topology instead of guessing at resource sizing
This is advanced. If you’re still on CCNA routing basics, start with our EIGRP vs OSPF and BGP vs OSPF guides first. And if you’re weighing CCIE against CCNP for your next step, here’s how the two certifications actually compare.
Build the fabric in this guide first, then go wider with the full CCIE Enterprise Infrastructure Lab Workbook, 120 EVE-NG labs across the whole blueprint, SD-Access included.